Construction of the two bombers has continued apace. So much so that I've actually finished them already. I want to walk through the major steps in building them however to point out some of the areas to watch out for when building these two kits.
Putting the fuselage together on large bombers like the B-17 is always tricky with numerous rotating turrets and clear windows in vulnerable places. The Revell kit has better fit with its clear parts and they are thinner and clearer. That said, the tail turret clear parts on the Revell kit also showed signs of imperfections like the ball turret which I found surprising in a new kit. the turret is crammed with detail with ammo boxes, ammo feeds, a seat/cushion, two .50 cals and an slab of armour protection, all of which you will never see as the windows are too high and too small to get enough light or a clear view on to these parts. To be truthful most of the detail could be skipped by here as it will never be seen but that is up for the modeller to decide upon.
Academy have a much simpler and somewhat crude solution to the tail turret. Two clear parts glued together and a simple blanking plate with .50 cal barrels moulded on makes up the entire turret! The downside to this is the two halves stuck together will leave a near-impossible-to-remove seem down the centre of the turret amoured glass. Of course a B-17 devotee will notice that in both examples built I used the early style tail turret and not the Cheyenne one. The Revell kit comes with both options as standard but the Academy one only has the early one (which is correct for the B-17F boxing). I do know that the special 'nose art' edition of Academy's B-17G kit comes with both turrets and I have heard that the Airfix reboxing of this kit (A08005) also includes both.
 |
| Revell tail turret |
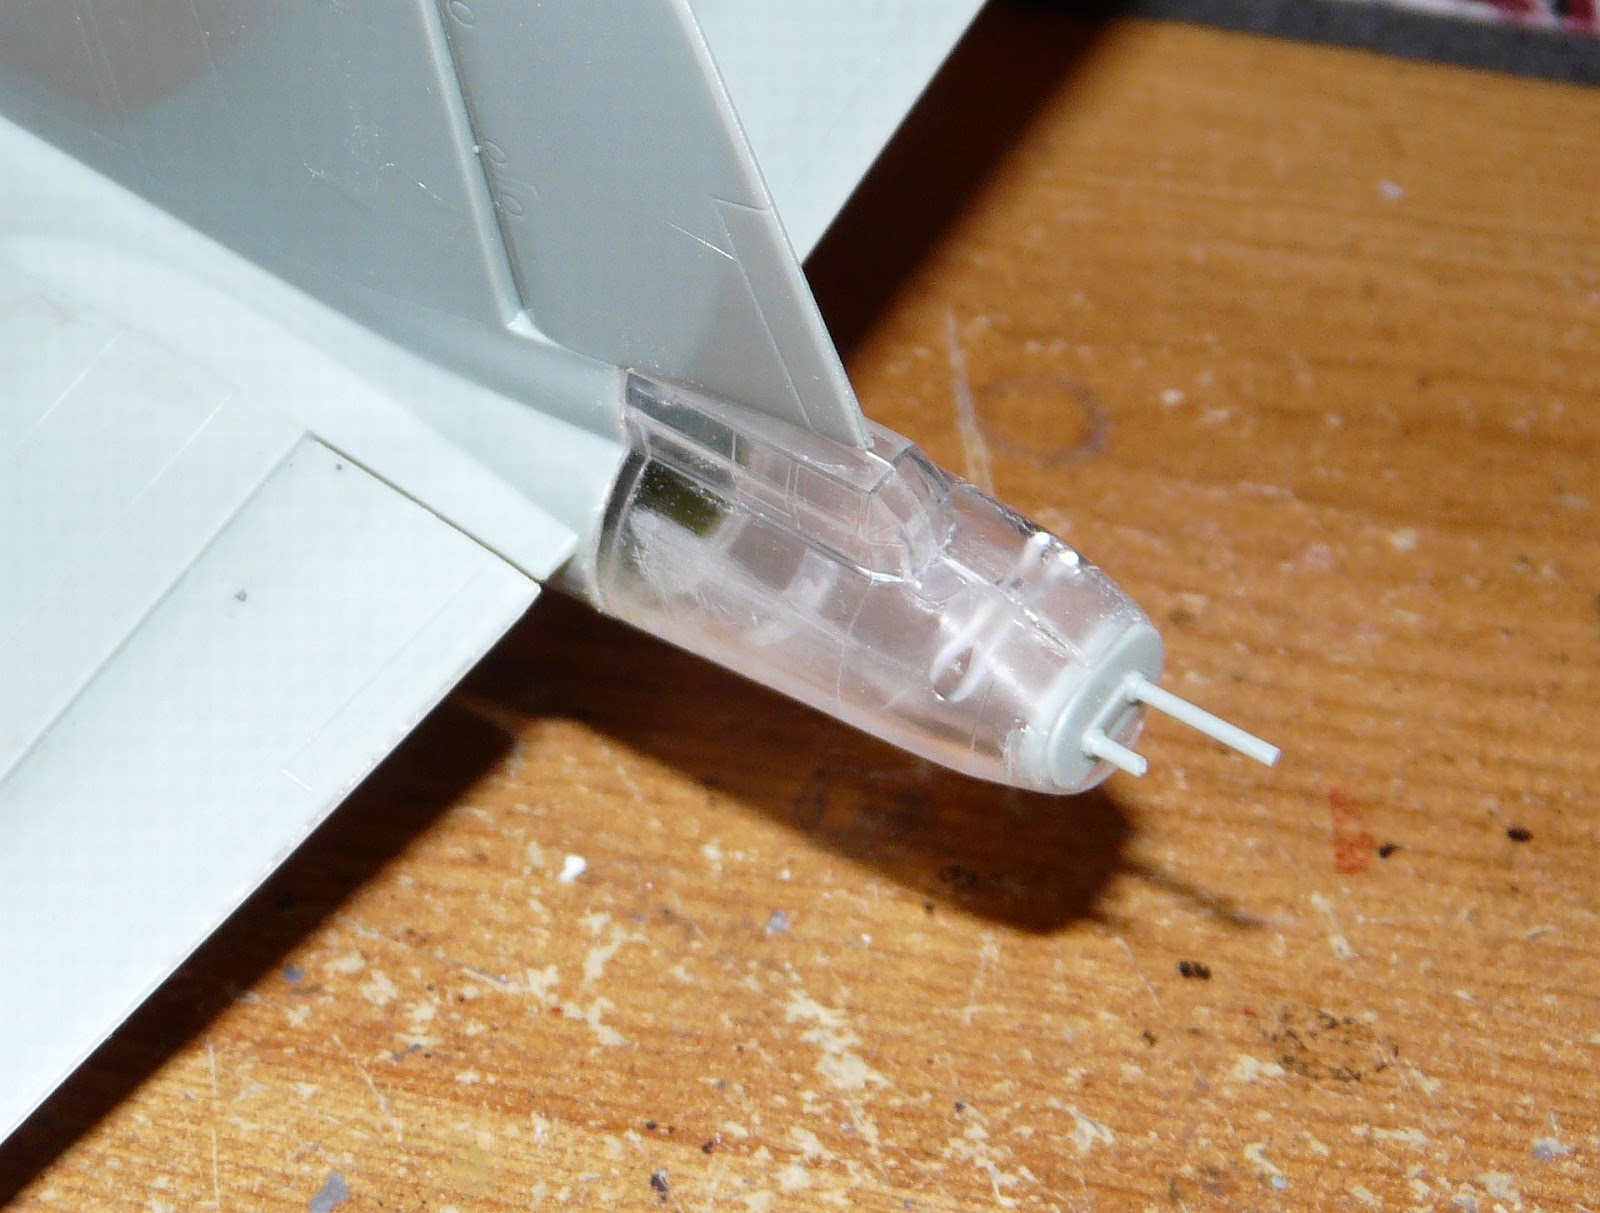 |
| Academy tail. Notice the seem running down its entire length |
I'll now mention the waist gun positions of both models. Academy has the port side fuselage half with the waist gun position cut out, and on the starboard side there are two recessed sections that the modeller has to cut open to cut open to create the waist window on this side. This gives the option of having both waist guns directly oposite each other or it can be made into the later staggered waist option.

This early construction picture shows one waist window cut out and the other staggered position immediately on its left. I don't think many (if any) B-17F's had the staggered waist position, but as this fuselage half is the same as the B-17G kit it was a simple way for Academy to simplfy the moulding process of the kit. A blanking plate with a small window is provided for the academy kit as these were fitted if the B-17 was not equiped with its waist guns.
The much newer Revell kit however only comes with the early-style waist position and this is one of the things that I find most dissapointing with this new tool kit. I know a fair few B-17G's had this 'directly opposite' waist gun configuration but many thousands were built with the staggered position. This means that building an accurate late B-17G with the Revell kit is not really possible without some scratchbuilding. It would require the starboard waist gun window being cut out in the correct position and the older one being filled in. This is not impossible for a good modeller with experience of scratchbuilding but the majority of us (of which I include myself) will not have the skills or inclination to risk the entire kit for a new waist gun position. Sall B, the B-17G I am building has the staggered waist but I am using artistic licence and leaving the positions as they are.
 |
| The Revell kit only comes with the early style waist position (but 3 different window options!) |
This dissapointment aside, the Revel kit does come with 3 different styles of waist window, a lovely looking .50 cal machine gun and ammo boxes and ammo feeds so a nice representation can be made straight from the box. I 'borrowed' two spare .50 cals for the Academy kit as they are much better and improve the look of more open air waist positions.
I like your work in this build but when is the next installment going to be for these fortresses? :)
ReplyDeleteAnd which paints are you going to use on the Academy kit for the olive green and neutral grey?