This blog looks at the wing construction of both kits as they differ in some considerable ways and there are pitfalls for the unwary modeller.
 |
| Revell interior showing the wing attachment spars |
The wings of the Revell kit slot neatly onto the spars and the undercarriage can be glued in place after the wing halves are closed up. This makes construction of this section quite simple and alignment is all sorted out for the modeller without having to worry about it. The interior of the wheel wells also has detail so that when the wheels are down you're not staring into a blank expanse of wing interior.
This is a vast improvement over the Academy kit that has small conventional slots for the wing/fuselage join and no interior wheel well detail. Also the undercarraige has to be glued in place before the wing halves are together and this makes them vulnerable for the rest of the building process.
 |
| Academy interior with wing attachment slot visible - note no spars like the Revell kit |
Now here is the major pitfall of the Academy kit and if anyone is using this blog to help them with their build then please take this piece of advice even if you disregard everything else! The wing of the Academy kit if attached properly and as the instructions show will be wrong, very very wong! The reason? The dihedral of the wing is out by a considerable margin so fitting them flush without gaps (like a good modeller) will result in the wings having too much dihedral and your B-17 will never look right. Take these two Acadamy B-17's, both nice models but the wing dihedral is unfortunately wrong.

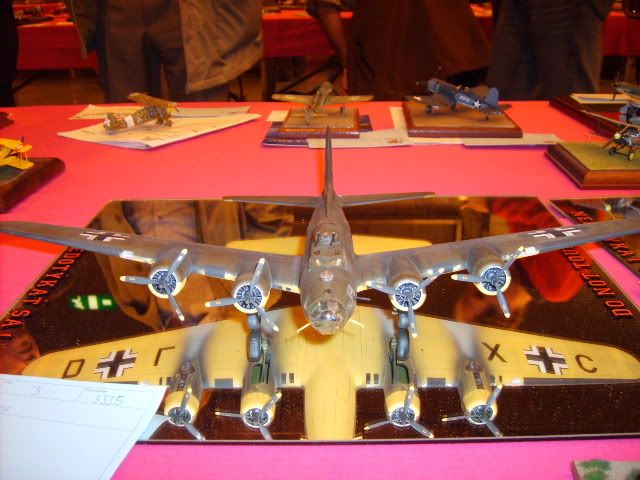
The B-17 certainly does have a dihedral in its wing but it is not anywhere near the level of these two models. I didn't measure with precise accuracy the amount of degrees it is out by but to fix this problem what is needed is a few milimetres of plasticard strip stuck on the topside of the wing half to bring the wings down to where they should be. Here is a picture of how I did this on my B-17F
 |
| My solution to the dihedral problem |
I have seen other modellers try a different method, that of sticking the upper wing half to the fuselage first and then the lower part and the results have been good, but I preferred this method of using plasticard spacers to push the wings down. If this is done, then the wings will look a lot better and your B-17 wont be spoiled.

Now moving on, The engines of the Revell kit are quite lovely with multiple parts and really only need some etch detail to bring them up to show standard, but the Academy ones are mush simpler and the cowling shape is also slightly wrong as well. I elected to replace the cowlings and engines with resin replacements and I was quite glad it did (despite the extra work and cursing it took to get the resin cowlings released from their mouldings). Here are two pics that first show the Academy kit part and then the resin replacements.
 |
| Academy engine |
 |
| Resin replacement |
I also chose to replace the academy main wheels with resin ones as well as the kit parts are not that great and are much improved by sourcing some replacements. I have no comparision pictures of this however so you will have to take my word for it!
The next blog will look at painting the two American bombers :)
No comments:
Post a Comment