Wednesday, 30 November 2011

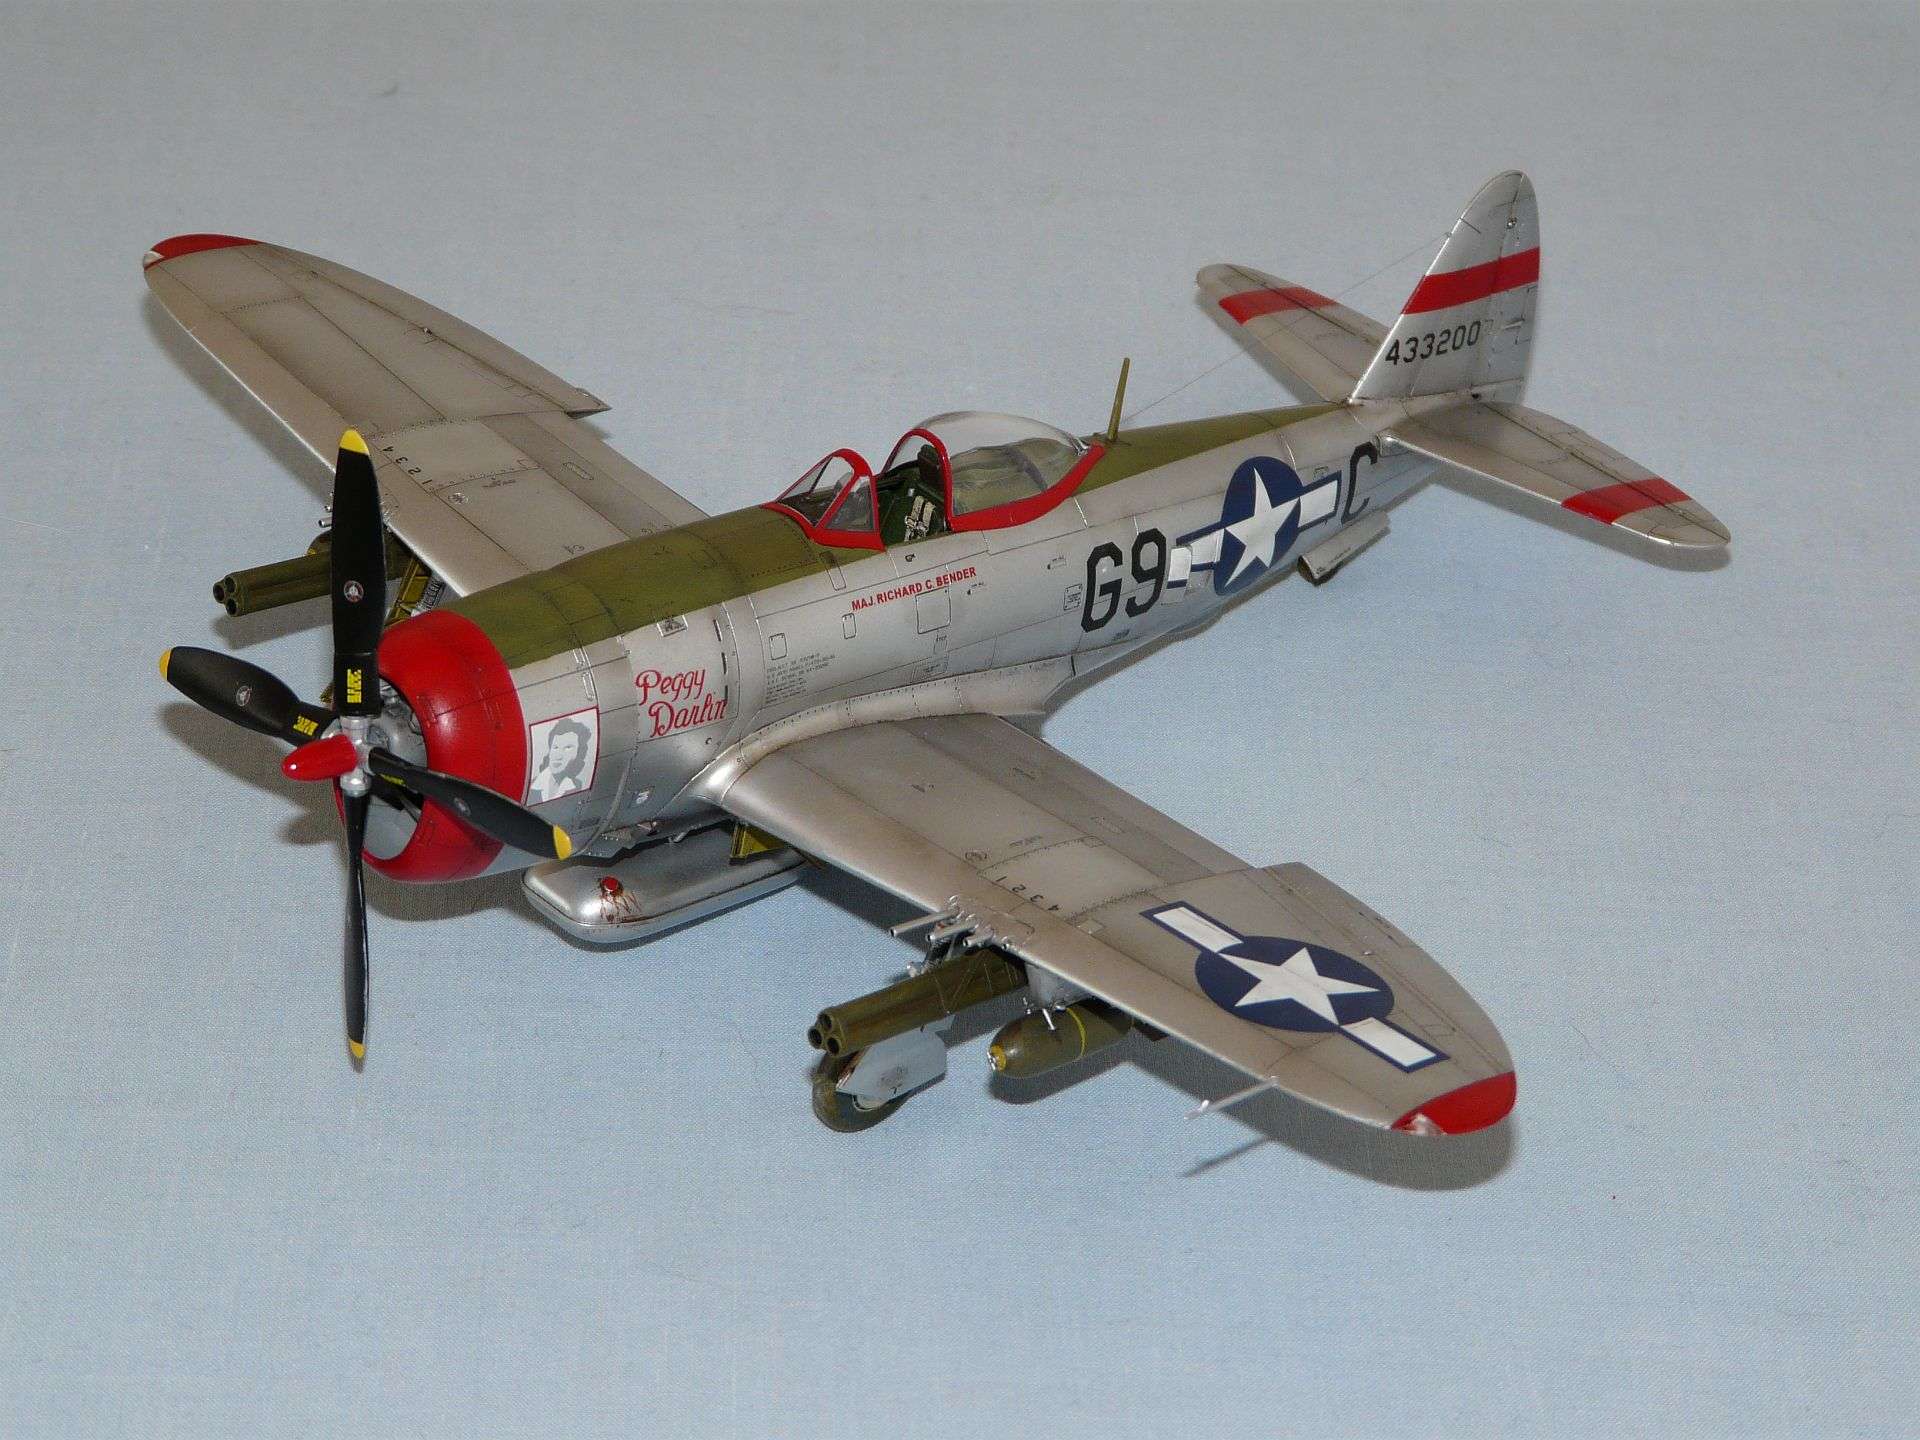
P-47 'Peggy Darlin'' finished


I've just completed the Tamiya 1/48 P-47D 'bubbletop' kit for a group build on http://www.britmodeller.com/ and I must say I'm quite happy with it. The aircraft depicts a machine flown by Major Richard Bender from the 405FG. No date is given on the decal sheet to say when the aircraft was flown but I'm guessing late 1944 or more likely, 1945 as no invasion stripes are present. Yes I could research the 405FG but I want to move back to my B-17 builds.

Some  more pictures of the completed model can be found here (Britmodeller P-47 Thread)


Monday, 28 November 2011

B-17F and B-17G - The Sperry Ball Turret

A Sperry Ball Turret on display at IWM Duxford, UK.


The third installment of this double header looks at the Sperry ball turrets provided in both kits. This is the distinctive ball turret located on the Flying Fortresses' belly, an unenviable gunner position if ever there was one. First though  I must apologise for the chop and change nature of this build and going between the Revell and Academy kit at will. I didn't start this build with this blog in mind but I am now trying to catch up with the pictures that I have taken of the construction thus far. In this regard I have not really taken good pictures of the Academy kit turret for comparison, but I will make do without!


Revell ball turret

Here is the Revell Sperry Ball turret which unlike other ball turrets from other kits I've come across, comes with interior detail. The modeller is provided with a seat, two .50 cal machine guns and a turret control. Although the detail is a bit simplified, I just love the fact Revell have included it. I was a little surprised though that even though this is a new kit, the ball turret clear parts were not the most clear, and had some nasty flash to be removed. Now if we consider this detail next to a pictureof the real thing (apologies for my camera being defeated but the perspex), we can see that Revell have obviously made an attempt to get the seat and gun position about right.


Looking inside a Sperry turret


In terms of construction, the revell kit was glued together using Revell contacta clear, to avoid misting of crazing of the clear parts that superglue or normal polystrene cement will often achieve. The fit of the turret was suprisingly not good, and it seems the moulds have already taken a battering with the thousands of copies that must have already been produced. Either that or I had a duff clear sprue. Anyway that aside, construction continued and the ball turret was masked up using eduard pre-cut masks (a cheat I know) and then sprayed light grey, that is close to the nuetral grey ued on camouflaged B-17's.The turret detail extends to a replica mount, which is a nice touch and those looking to add some more detail may want to pop a yellow oxygen tank next to the .50 cal ammo boxes.

Sperry ball turret from the Revell kit, minus the .50 ammunition boxes
I must note, I have left off the .50 ammunition boxes and ammo chutes that Revell provide, because on my previous build of this kit I found these parts restricted the movement of the turret considerably, stopping the turret from traversing to the front. I wanted to avoid that happening on this build, but others may not be so fussy, prefering the detail over the playability of the turret (yes I'm a big kid). 

As for the Academy offering, the turret comes with no interior detail, no mounting extending into the fuselage and the side windows of the turret are incorrectly posistioned due to the nature of the mounting ring. The turret sits in the aircraft via two plastic tabs that lock the turret in place when the fuselage halves are closed up. In the following picture, if we disregard the scratchbuilt parts and follow the red arrow, we see one of these tabs that holds the turret in place. Crude, but effective is the best way to sum it up.
Academy ball turret position and mount


Academy ball turret
This picture here illustrates the academy parts about as well as possible. The grey painted parts are clear and the interior green part is the mounting ring. As can be seen, the mounting ring also includes the side of the turret and with this being a solid plastic part, the windows from this area are pushed further out around the turret which is slightly dissapointing. All but the most descerning B-17 freak would miss this though, so I wouldn't lose too much sleep over it.

So on the face of it Revell wins hands down, with better detail and a more realistic mount. That said, the poor quality of the clear parts on the turret was a big surprise from them. The other parts on the clear sprue seemed very good bar the tail turret transparencies (more on this later maybe) so it is rather odd. When the models are complete it will be nice to see which one looks the best.

A shot of the turret in a B-17

Thursday, 24 November 2011

RAF Hendon, a (brief) visit

I had a quick trip to London today and had the chance to stop at the RAF Museum at Hendon so I grabbed the opportunity and headed in with my camera. To be honest not much has changed inside since my last visit 14 years ago. In some respects this is very good news as the museum has some very rare exhibits that make a trip to the museum worth it, on the other hand the bomber and Battle of Britain halls were still poorly lit. This makes photography of the aircraft in these halls very difficult to say the least, expecially with my basic hand held device.

I was happy to see the rare Luftwaffe equipment again, such as the He 111, Ju 87, Ju 88 and Bf 110. They are all in the Battle of Britain hall which has moody dark lighting. In addition to this, the aircraft are parked up against one of the hanger sides meaning they can only be seen from one side. I find this a great shame, but I can at least take solace in the fact that they are being preserved and that maybe in future decades they may be given an overhaul and placed in a better display. Also it does grate the purist in me that all these types are in the Battle of Britain hall, when the majority of them are late war sub-types, captured at wars end (but 95% of joe bloggs public would never know or care about this!).

Anyway, here are a few pics of the aircraft that some readers may like to see.

P-51D in the 'Milestones of Flight' hall.


Bf 109G-2

Hawker Tempest

Me 262

Handley-Page Halifax

Fairey Battle

2 seat Fw 190 S-8

Hawker Typhoon

Me 110 G-4

Cr.42 Falco


He 111 H-20

Bf 109E

Ju 88

Hawker Hurricane

P-47 Thunderbolt

Bristol F.2B Fighter

DeHaviland Chipmunk

He 162 Salamander

B-17G Flying Fortress

Spitfire F.24


Monday, 21 November 2011

Decal Review: Techmod 1/72 Mitsubishi A6M2 Zero decals

To follow on from Airfix's latest kit release, I decided to purchase (and then review) some 1/72 decals from the Polish company Techmod that are suitable for the new kit.


The sheet comes with four options, all in the light grey/tan scheme that was so prominent during the early part of the Pacific War. Now the colours of these A6M2's has been a hot topic of debate between modellers for some years and I'm not about to wade in to the arguement here, especially as I am by far an expert in the matter. Techmod dodge the issue entirely by just giving the name as IJN Grey (Mitsubishi) and not giving an American FS colour callout, whereas the rest of the colours are given an FS number.
      For those who are looking for information on painting of Zero's, there is a decent debate on Britmodller.com  (Japanese WW2 Colour debate) that provides many good links about paint chips and colours to use.

Now on to the sheet options:

1 - Pilot Tesuzo Iwamoto, Oppama Kokutai, Oppama Air Base, Japan, February 1943.

2 - Pilot Tetsuzo Iwamato, Carrier Zuikaku, strike on Pearl Harbour, 7th December 1941

3 - Pilot Tsugio Matsuyama, Carrier Hiryu, strike on Pearl Harbour, 7th Decemeber 1941

4 - Pilot Lt. Sumio Nono, Carrier Hiryu, strike on Pearl Harbour, 7th December 1941


The actual decals are neatly printed, thin and in register. There is no noticeble 'bleedthrough' of red around the white edges of the Hinomaro's so that is always nice to see. What is particularly nice with this sheet is the fine detail of the stencils, they are tiny but the Japanese text is legible (although I cannot vouch for the authenticity of the text as I cannot read Japanese). Techmod do provide stencils for both Mitsubishi and Nakajima built aircraft, which had some variations with the stencils so this attention to detail is comendable.

I have yet to use these decals but I have used Techmod before for some Spitfire markings. If these markings go on as well as those did, then they will be a pleasure to use. Highly Recommended!

EDIT: I realised whilst reading this over I totally forgot to put how much these decals cost, which is usually quite important for a review of a product! My apologies. I picked them up from Hannants.co.uk for £4.70. This is a very respectable price for 4 options, full stenciling for one aircraft (either Nakajima or Mitsubishi built) and decent colour instructions for placement. I stand by my original assessment, this is a great little set of decals. 


Sunday, 20 November 2011

P-47 Build

The B-17's have gone on hold this weekend as I have realised that I have less than a month to finish my other major project at the moment, a Tamiya 1/48 P-47D Thunderbolt. I have this time limit as it is entered into a group build on Britmodeller.com which is my forum of choice for advice and general procrastination. I'm sure some readers may have traced this blog from the forum, if so, welcome!

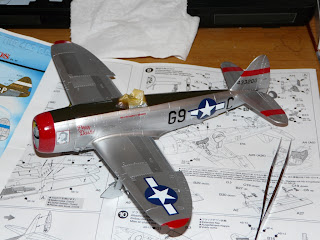
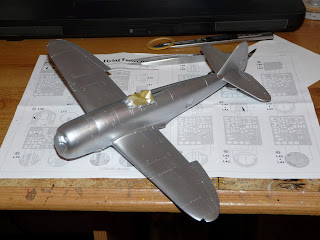
Rather than leave the blog without an update I thought I'd show the progress on the P-47 thus far, after all this is my modelling blog and it is what I have been working on all weekend. When it is finished, it will be in the markings of 'Peggy Darlin', an aircraft flown by Major Richard Bender from the 405FG.


Different panels masked and painted in slightly different shades of silver


Friday, 18 November 2011

Kit Review: Airfix 1/72 A6M2b Zero

Airfix has had something of a rennaisance since being bought out by Hornby. Granted the production of kits has moved to the Far East and some of the new releases have been more miss than hit, but they are really starting to come on song now. Their new 1/72 scale A6M2b (released November 2011) is a great looking kit on the sprues and outclasses their ancient tooling by a country mile. So lets see what we get for £6 of our hard earned cash.


The box is end opening and thin in profile, meaning it will be tricky to part-build the kit and put it to one side, but also it won’t take up much space if left in the box. The box art itself is beautiful and I have to say I really like the new CGI art that Airfix use on their new releases, they are becoming classics in their own right.

The reverse of the box shows the single paint scheme that is provided and acts as the painting and decal instructions at the same time. The single decal option provided is for an aircraft from 201st Kokuta that was based in Papua New Guinea during 1944. I must admit to being fairly clueless to the finer detail of the Pacific Theatre, but it was my understanding that the A6M2 variant of the Zero was one of the earlier versions and as such would have been a less common sight during 1944 as newer models like the A6M3 and A6M5 replaced them. That said, I will trust Airfix’s research this time as I have nothing to contradict them.

Now looking at the sprues we see are met with 46 light bluey-grey plastic arranged on three sprues, with a separatley bagged clear sprue that contains the single piece canopy. The moulding looks to be of excellent quality and the panel lines are quite restrained in comparision to some of the other airfix releases that have been accused of trench warfare by some of the vocal members of the modelling community (not wholly without merit it must be said).  What is nice to see is the nose cowling is moulded in one piece and the radial engine includes both rows of cilinders  and this should give a nice impression of depth when the model is built up.


Another thing that is great to see on the underside of the wing are the finely moulded rivets on the centre section of the wing. Airfix are starting to catch up with the market leaders here it seems. Also another good point to note is the undercarraige legs are moulded seperately from the landing gear doors, something some of the other new aifix releases did not do. I can't comment on the accuracy of the placement of the panel lines, nor frankly do I care much. Being 1/72 scale I expect some simplification has taken place but the overall look of them is very good.


One thing that is worth mentioning is the cockpit detail. The cockpit floor is curved like in the real aircraft, and the rear of the machine guns are included next to the instrument panel. Thats some nice detail for a basic kit. Speaking of the instrument panel, the detail is provided by a decal, which is acceptable in this scale although those with AMS (Advanced Modelling Syndrome) will look to replace with some resin and etch (when they become available). One thing to note about the cockpit floor is the rather unsightly ejector pin marks where the pilots feet would be. This will be difficult to fill and sand, but once the cockpit is closed up and the canopy is in place it is unlikely to be all that noticable, if at all. 


As for the canopy it is moulded as a single piece and is respectably clear. It should be adequate for the majority of people I would say.  The decals are matt but look decent and are in register. They are much better than earlier Airfix decals and should work well on a glossy surface with some decal softner to help them into place.  

So, verdict time. I think this kit is great and is well worth the price it is being sold for. The limited release Fine Molds A6M2 may have it beaten on detail, but it also comes at 3 times the price of Airfix's offering. Currently  it is the best value for money A6M2 out there and I definitley plan on building it sometime in the future. I think I will source some Pearl Harbour decals however, as I would prefer this early Zero to be in those markings.